
Homemade French Bread

French Bread -- hot right out of the oven

Do you love crusty bread with a soft crumb on the inside?  I know I do and today, I ventured into the world of baking it at home.

Baking bread is not as difficult and time-consuming as I want to think it is.  The biggest chunks of time go to rising which I don't need to be present for!  So join with me and we'll make french bread together.

My set-up for bread-making:  mixer with large bowl, flour, yeast, salt, water, egg, whisk, rubber spatula, metal bowl for rising, and the breadbox.

This recipe comes from the Better Homes and Gardens cookbook.

French Bread
5 1/2 to 6 cups all-purpose flour
2 packages active dry yeast
2 tsp salt
2 cups warm water (115F to 120F)
cornmeal
1 slightly beaten egg white (optional)
1 TBSP water (optional)


Close-up of the ingredients

In a large mixer bowl, combine 2 cups of flour, yeast, and salt.  Add warm water. Beat at low speed of electric mixer for 30 seconds, scraping sides of bowl constantly. Beat 3 minutes at high speed.  (I followed this part of the directions exactly, using a timer.)

Stir in as much of the remaining flour as you can mix in with a spoon.  (I dumped in 1 cup of flour at a time, up to a total of 5 cups, and was using a rubber spatula to stir it.)

Turn out onto a lightly floured surface.


The dough turned out onto the counter before any kneading.

Knead in enough of the remaining flour to make a stiff dough that is smooth and elastic (8 to 10 minutes total).  (This is the trickiest part of making dough and with some practice, you will get it.  In my dry Australia climate, 21% humidity yesterday, I only added about 1/2 cup of flour and kneaded for 4-1/2 minutes to get a good texture.)

Pay attention to how your dough looks and feels more than the timer and measured flour.  I stopped kneading early because I was concerned that adding more flour would cause the bread to be too dry and crumbly when it baked.  If your humidity is higher, you will use more flour.

When done kneading, shape dough into a ball.

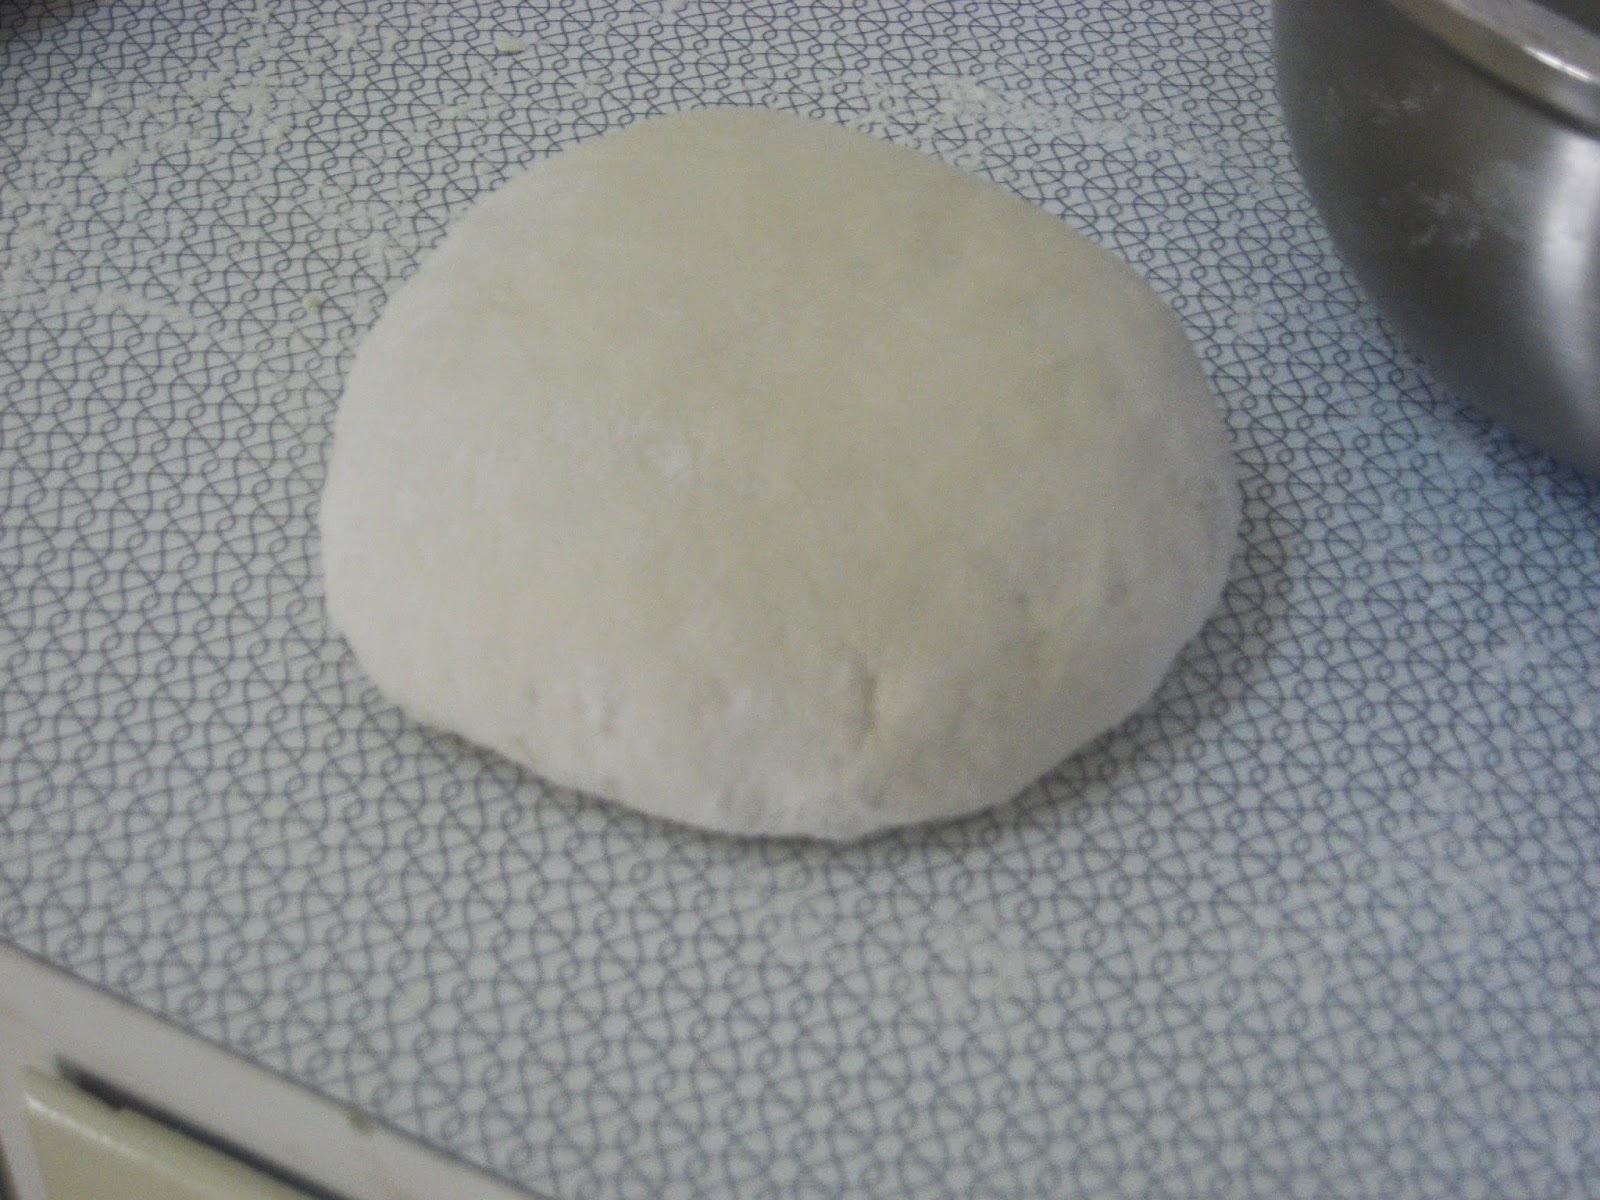
The dough, after kneading, and shaped into a ball.

Place dough into a lightly greased bowl.  Turn once to grease all surfaces.


Dough is ready for first rising.


My happy helper.  :)  Next time, I will help her make individual loaves that we'll use for hoagie sandwiches.


 Cover bowl with a tea towel.  Let rise in a warm place until double size (1 to 1-1/4 hours).

My kitchen was chilly so I had warmed the oven, turned it off, and set the dough in there to rise.
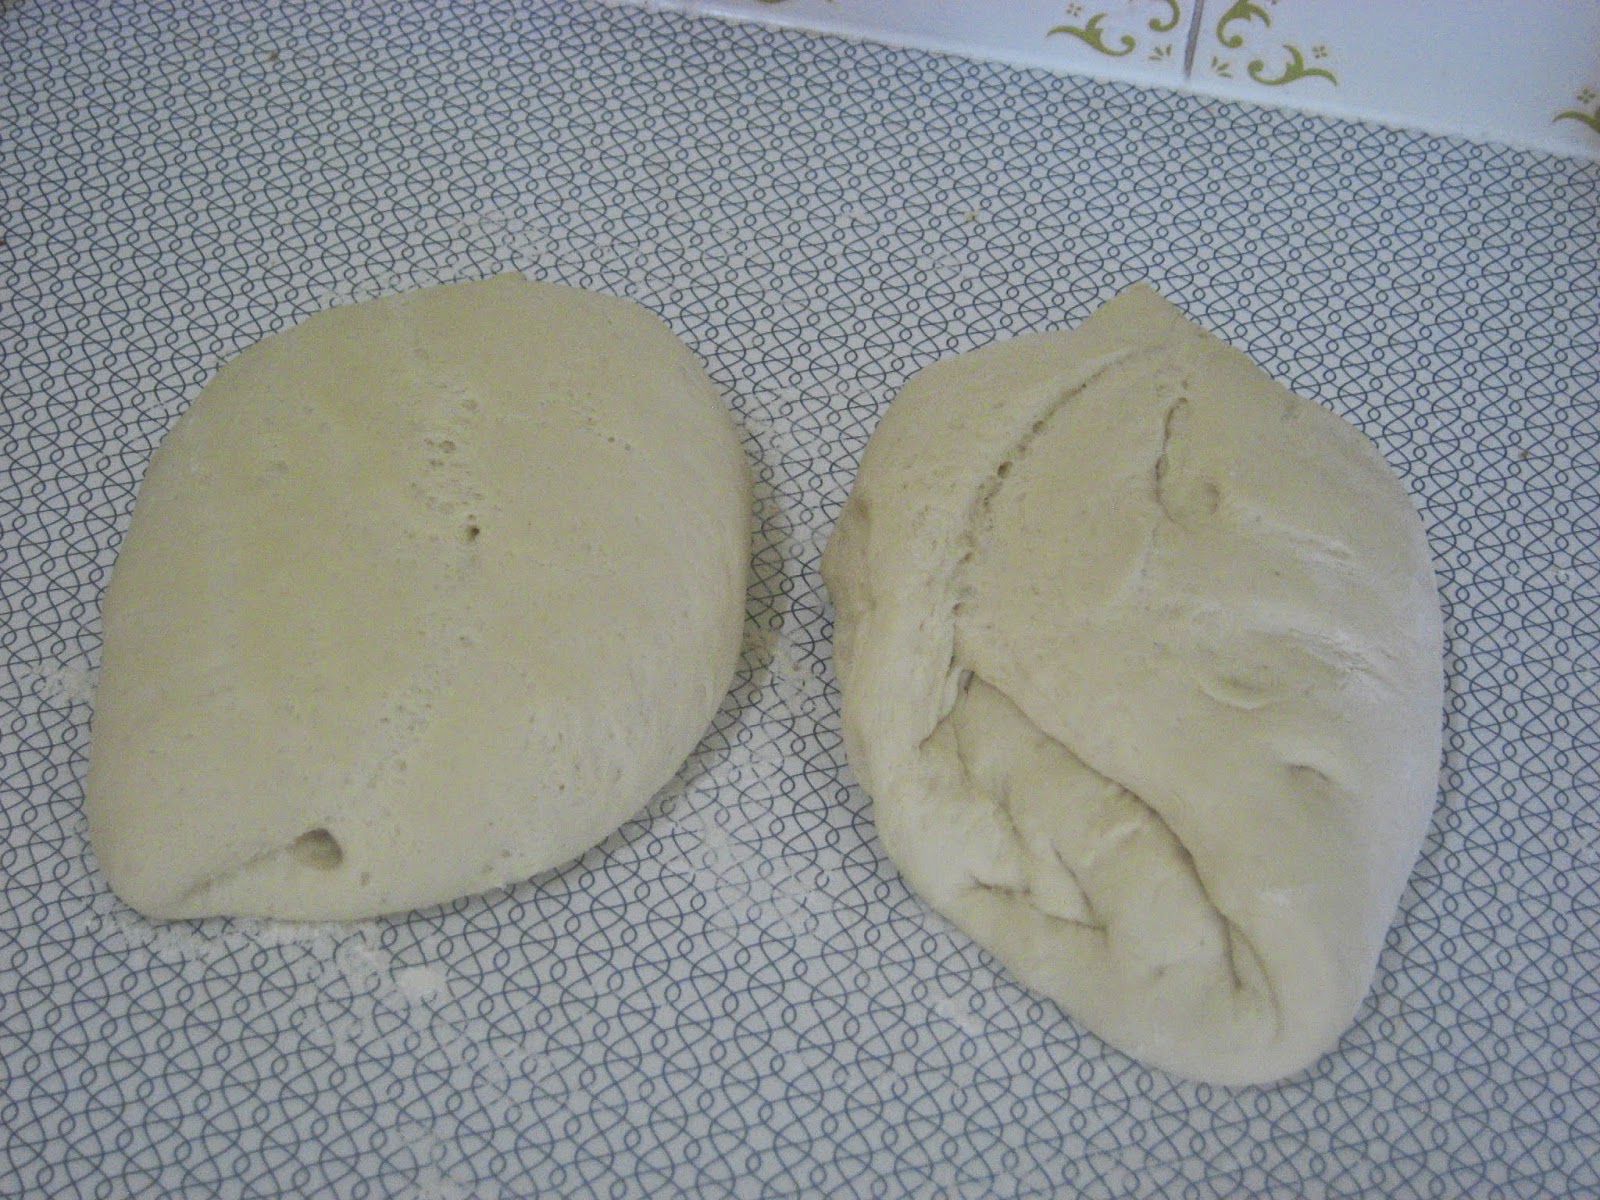
Punch down and turn out onto a lightly floured surface.  Divide in half.  Cover and let rest for 10 minutes.


After resting.


 Roll each half into a 15 x 12 inch rectangle.


One rectangle ready to be rolled.


Roll up tightly from long side and seal well.  Taper ends.  Place, seam side down, on a greased baking sheet sprinkled with cornmeal.  If desired, brush with a mixture of egg white and water.


Two beautiful loaves ready to go into the oven.  I didn't have cornmeal and so used flour.

Cover and let rise until nearly double (about 45 minutes).  I set them on top of the oven as I had it warming up.

With a sharp knife, make 3 or 4 diagonal cuts about 1/4 inch deep across tops of loaves (scoring).


Scored loaves in the oven, ready for baking.  Notice how they have stretched out and are poofier than they were before the last rising.

Bake at 375F for 40 to 45 minutes. (I adjusted the temp down 25F for the dark colored baking sheet.)


Hot bread, fresh from the oven.

 If desired, brush again with egg white mixture, after 20 minutes of baking. (I didn't do this, but I think it would have make the tops a more golden color.)

 Cool.  Makes 2 loaves.


YUM!!!

In the comments, let me know how how your bread-making adventures are going.
Cheers!


Comments

Popular posts from this blog

So Much Stuff

We live in a world of SO MUCH stuff. It's overwhelming just how much stuff there is in our world, at least in the US part of the world. Yesterday, I had a couple of hours to kill, and because my husband and I have decided we would prefer to furnish our home with antiques, I decided to take a walk through the local antiques mall. The antiques mall is in an old building downtown that used to be a JCPenney, so if you're familiar with the JCPenney stores of the 1970s and before, you'll know what I mean when I say it's big, really big, as in 3 floors of stalls of antiques. And the antiques range as far as they can from crochet-edged hankies to pyrex bowls to cast iron hand pumps to hoosier cupboards. Truly, if you're looking for a specific item, and you're willing to spend the time, you'll find it in this store. So much stuff.  Most of it just sits there, collecting dust. Like wall-hanging thread holder which I first spotted the first time I w

Homeschooling and Field Trips

After reading Homeschool Adventures: Learning through Field Trips by Melissa Calaap, I knew field trips were going to be a regular part of our homeschool journey. Hands-on learning, experiences, talking with people on site.. that is where deep learning happens. And honestly, field trips were the best days of my own public school experience. Hello Ft Wayne Children's Zoo, Amish Acres, and Cotton Bowl Parade. My local homeschool community regularly organized park days, the occasional trip to the museum, IMAX movie, and other one-off meet-ups, but there wasn't a regular set pattern of field trips on the caliber of what I was looking for. So I had a decision to make. Did I sit and wait for others to create the opportunities I was looking for or did I do it myself? Now, coming from the public school background I came from, my first inclination was to wait for others to come up with the idea and organize it. I mean that's how it worked at the schools, right? In fact, the school a

I'm in the pillowcase business!

Part of being a stay at home mom and making sustainable living choices is keeping expenses down, but the other part is to increase the income, too.  And working from home allows me to develop multiple small income avenues rather than just going after the one big avenue of income. With that in mind, I've been brainstorming, trying to come up with a project for the cold winter months.  I've kicked around various crochet ideas, but was truly inspired when I came across the idea of making custom pillowcases. Here are some photos of the one I whipped up this morning specifically so I could take photos to promote this new business venture. Isn't that a lovely pillowcase?  I can't wait to share with you all the pillowcases I have planned! Come spring, I'll add chickens, well eggs, as another avenue.  And of course the garden will go in which will reduce our food spending in a big way. What small avenues of income are you working on?